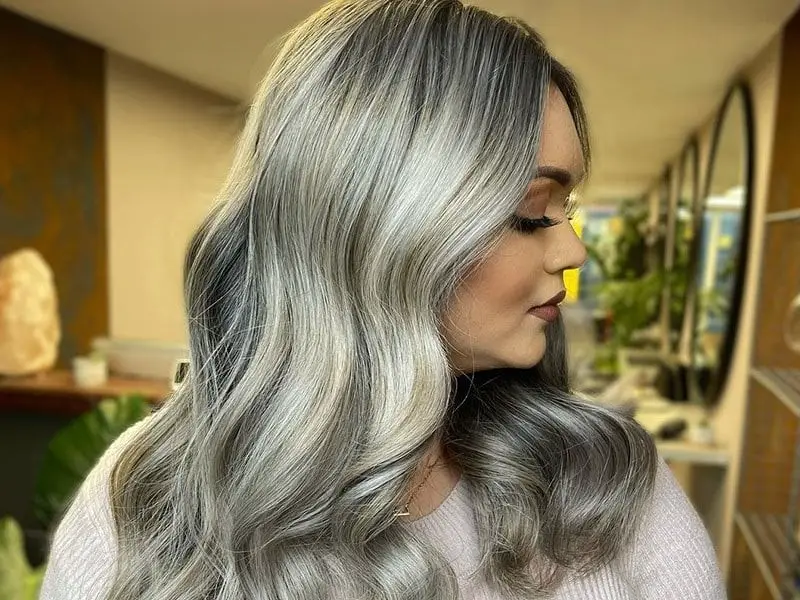
There are currently several trendy hair colors, and one of the most popular is silver gray. Many women, and even men, decide to dye their hair this way for different reasons. Whether it’s for fashion, a change of look, or to cover the first grey hairs, it is a very modern style that has now become very common to see on the streets and requested in large beauty centers. From the Nueva Imagen hairdressing and beauty academy, we have created this post to give you the necessary guidance and to learn all the details of how to achieve it perfectly.
Dye your hair silver grey step by step
Coloring your hair is an easy process, but when it comes to a silver tone, it is a little more complicated, especially if the natural base tone is dark. In any case, to achieve this, you must follow the instructions to the letter:
Bleaching hair
This is the first step to take, completely bleaching the hair, which is normally achieved in two sessions. This process is very delicate, and incorrect application could cause serious damage to the hair fiber, especially if it has previously been dyed black. If this is the case, it is not advisable to change to silver gray.
Finding balance in tone
Once bleaching is complete, you will see that it has a yellow tone, which must be modified to dye it. To do this, you must use a blonde or light purple dye, to prepare it for the last step.
Apply the final dye
It’s time to use a special silver-gray dye, if you don’t have one, then you can apply the same blonde or light purple repeatedly until it turns gray.
What to mix to achieve a silver-grey color?
This color suits all skin tones very well, therefore, it is ideal for any woman to wear, since it is fashionable, but it is also true that it is quite difficult to achieve, so the most advisable thing is to go to a beauty salon.
However, there is a way to do it, nothing is lost by trying and you will only need the following materials:
- Bleaching powder
- Violet toning shampoo
- Silver grey tint
- Peroxide (10 and 20 volumes)
Peroxide
The 20 volume will be used to activate the power of the bleaching powder, thus promoting both bleaching and oxidation of the hair. The 10 volumes will be used to apply the final tone.
Bleaching powder
The amount needed will depend on the volume of hair to be dyed and will be mixed with two parts of 20-volume peroxide. The powder will be used to lighten the hair to the lightest shade or as desired.
Violet toning shampoo
Once bleaching is complete, you should wash your hair thoroughly to remove any remaining powder using this product, using only a small amount while gently massaging the entire scalp. This should be left to act for at least 3 or 5 minutes and after this time, rinse with plenty of water.
The dye
In the market, you will find a large number of these shades from different brands, and each of them will vary depending on the case.
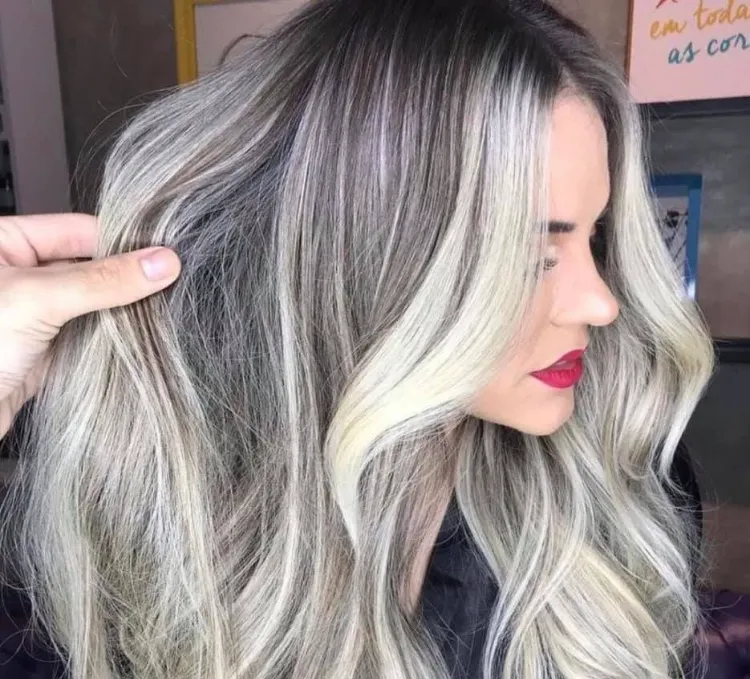
Platinum highlights
If what you need is some highlights, you can also do it, following these simple steps, so you can see how quickly you will look like you have been to a beauty salon:
You will need:
- A light blonde bleach
- A silver or platinum tint
- Violet toning shampoo
The first thing to do is to brush your hair well, removing any tangles or knots. The night before doing the highlights, you can apply a few drops of coconut oil to your hair. This will help hydrate it and prevent the treatment from damaging it too much. Leave it on overnight. The next day, start by combing your hair completely back and putting a cap on your head to make highlights. Using a knitting stick, start pulling highlights out of the holes in the cap while brushing each one. With the previously prepared bleach and dye mixture, start applying it to those highlights, from the tips to the roots, then enclose them in aluminum foil. When you finish with each of the highlights, you just have to wrap your entire head in aluminum foil, letting it sit for about 40 minutes. Remove all the foil, repeat the bleaching process, and wait 30 minutes to be able to remove it. Finally, apply the toner, let it sit for the time indicated in the instructions and that’s it.